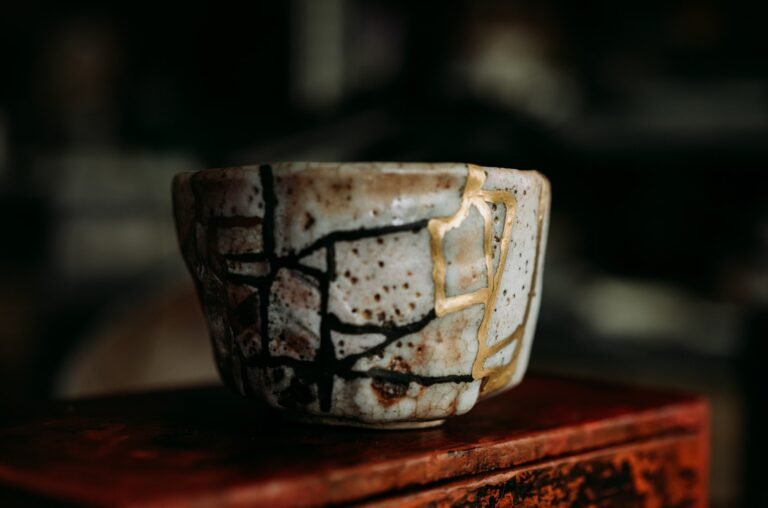
How to Glaze Pottery at Home for Beginners
Glazing pottery at home is possible, but the right method depends on what kind of clay piece you have and whether you have access to a real kiln. Traditional ceramic glaze and decorative home finishes are not the same thing.
For true glazed pottery, the usual home process is to glaze bisque ware, let it dry, and fire it in a kiln. Without kiln access, you are usually choosing decorative sealers or craft finishes rather than a traditional ceramic glaze result.
This guide helps beginners understand the practical home options, what equipment matters, and where the main limitations begin.
How to Glaze Pottery at Home
The most practical home glazing setup for beginners is simple: start with a properly fired bisque piece, use a premixed glaze that clearly states its firing range, and plan the final firing before you start applying anything. That removes a lot of the confusion that comes from trying to learn clay, glaze chemistry, and kiln operation all at once.
True ceramic glazing still depends on a kiln. If you do not have kiln access, you are usually choosing decorative paints or sealers rather than a traditional glazed pottery finish. That distinction matters because the finished look, durability, and food-safety expectations are very different.
A beginner-friendly home glazing workflow looks like this:
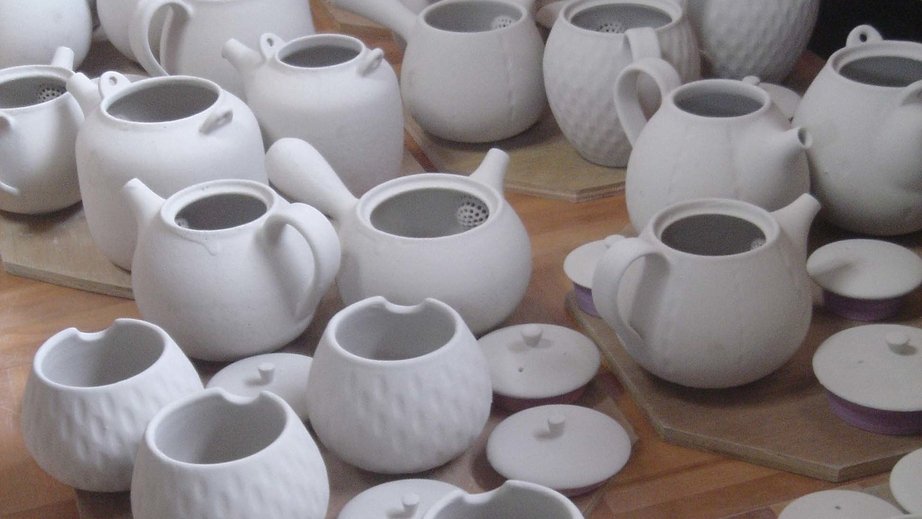
- Start with clean bisque ware and remove dust before glazing.
- Choose a premixed glaze that matches your clay and planned firing temperature.
- Brush, dip, or pour an even coat, then let each coat dry before adding the next.
- Keep glaze off the foot ring and any surface that will touch the kiln shelf.
- Fire according to the glaze instructions and the kiln schedule you are using.
If you are still learning the basics, it helps to understand how glaze, firing, and kiln temperature work together. Getting those three parts aligned will usually improve your results more than experimenting with lots of different products too early.
Should Beginners Make Their Own Glaze?
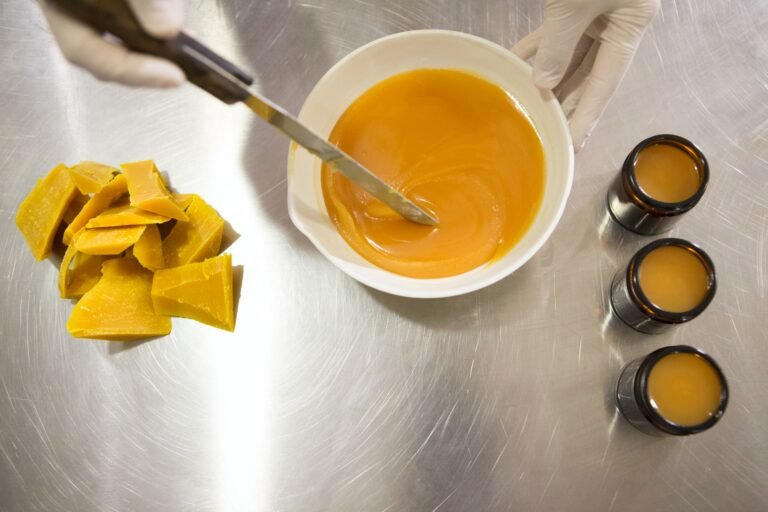
Simply combine a glaze powder with water to make your own ceramic glaze. It’s a
relatively easy process. Measuring water, putting the glaze powder into the water, screening,
modifying viscosity or density, and letting the glaze sit before applying it to your bisque-ware are
all part of the whole process.
Make sure you have all the necessary safety equipment before beginning to make your glaze. Glazes can produce dust, which can hurt your lungs if inhaled.
Assemble the glaze powder in a well-ventilated room while wearing a respirator or mask. If you
have sensitive skin, wear gloves when working with glazes. To avoid getting glaze in your eyes,
you can also use safety goggles.
Keep in mind that if the glaze isn’t thick enough, you can simply add more water. Start with less water than recommended and gradually increase until you get the desired consistency. Allow the glaze to sit for at least 24 hours before using it on your bisque-ware.
Related: How Do I Glaze My Pottery in the Oven?
What are The 3 Basic Ingredients in Glaze?
Silica (glass formers), Alumina (refractory), and Flux are the three basic ingredients of
ceramic glazes. They are responsible for the color, glaze opacity, and other desired finishes.
Glass, raw clay, and ceramic glazes all contain silica as a major element.
Silica is in quartz, sandstone, sand, and flint. Alumina, or aluminum oxide, is a stiffening agent in nearly all glazes.
Without alumina, any vertical piece’s glaze would just slip off the surface after applying, which
isn’t ideal. The glaze can attach to the pottery’s surface without coming off by using alumina as
a clay (kaolin, ball clay, or fireclay) or as alumina hydrate.
The most common fluxes in ceramic glazes are calcium oxides derived from limestone. Examples include potash feldspar and soda feldspar. Fluxes are helpful in decreasing the melting point of silica. Fluxes, like silica, help to induce vitrification.
Always keep in mind that too much flux might cause a glaze to flow and generate uneven texture on the surface. A glass made with too much silica will be stiff, white, and densely opaque, with an uneven surface. Striking a balance between these three factors is important.