What is Coil pottery? Ideas for Beginners!
Coil pottery originated in central Mexico about 4000 years ago and spread north. It is a way of producing thicker and taller vessels. But which skills do you need to master for this technique and does it take a lot of effort to make coil pots at home?
Clay coiling is a method of stacking and combining clay coils one upon another. Coil combining requires keen attention to avoid cracks or separations during firing. Soft clay and the proper way of combining coils help prevent cracking or coil separation.
This technique offers you superior control over the construction of vessels. It allows you to make them look bulky. Same time bulge outward or narrow inward with less likelihood of collapsing.
What Is The Method For Making Coil Pots At Home?
Create the coil pot base by rolling out a slab of clay. You can use a rolling pin or a slab roller to do this. It is ideal to have a base thickness of a quarter to two-thirds of an inch.
Cut out the base to the desired dimensions with a knife or needle tool. Place the base on a support surface that allows for easy movement. It can be a wooden bat or a bisque (biscuit) clay disc.
Once the pot base is ready, you can begin adding the first clay coil. It is not enough to press the coil down on the base. This video shows just how creative you can be with coil pottery.
Score the clay surface of the base with a needle tool or other modeling tool with a serrated edge. So, you are cutting small notches into the clay to create a texture on its surface. These shallow notches provide space for the slip, which acts as a glue to form a stronger bond.
Related: 10 Pottery Tools You Need to Own! (For Beginners)
Apply a coat of slip to the scored area using a paintbrush. Line the coil on the base or on the coil below and trim the ends to the right length. You also need to use the slip-and-score technique to bond two ends of the coil. Clay should be leather-hard when scoring or slipping.
Press the two pieces of clay together for about a minute. Be careful not to squash the coil shape when applying sufficient pressure. If the pieces stay together on their own, stop squeezing.
How Can I Blend The Surface Of The Clay To Form A Strong Bond?
Blend the coil with the base clay surface to further strengthen the bond. With the coil in the right position, blend the surface using a modeling tool or your thumb. Depending on your choice, you can either leave the coils visible or smooth them away.
As you blend the surface, the coil design disappears. If you want the coil to be visible on the outside, then you need to blend the inside surface. You should blend the interior of a vessel containing water so that the interior is smooth and sealed.
By stacking coils one on top of another, you can start to build your pot’s sides. Using your thumb or index finger (forefinger, pointer finger), you can join the upper and lower coils together. This process is also possible with a wooden or silicon rib tool. During the merging process, the clay needs to be soft.
To make the coils visible from the inside and outside, you need to use the slip-and-score method to bind them together. In this way, bonding strength becomes weaker and prone to detachment when firing. In such cases, you should be precise with the slip-and-score method.
Support the clay on one side with one hand as you merge two layers. Smudge the clay on the opposing side with the thumb of your other hand.
Adding up to three layers at a time before smudging and blending is possible. Make sure that the coil joints are not in a line.
In order to build walls outward, add coils to the outer edge of the coil below. Add coils along the inner edge of the coils below to bring the walls back in. Apart from this basic widening and narrowing technique, you are free to experiment.
Adding a few coils together can make a creative collar, for example. During a break, cover your work and pre-made coils to keep the clay moist and soft. To create the pot’s rim add a new coil without smoothing. Watch this video to learn more about coil pot-making techniques.
To hold the full weight of the pot, the bond of the rim coil should be strong enough. Cover it and let it stand for a while for setting before attaching it. Attach the rim coil to the pot by scoring and creating a slip on both surfaces. Using a wooden paddle, shape and reinforce the coiled wall.
Does Coil Pottery Require A Special Type Of Clay?
Pick a clay type with the right strength and low coefficient of expansion (COE). Because of the need for thicker walls and greater strength in larger structures. Clay bodies containing sand or grog (firesand, chamotte) work best for this purpose.
As stoneware or earthenware clays contain grog, they are most suitable for coil pottery. Clay should be soft and moist, but not sticky and wet. It is ideal to have a shrinkage rate of 8 percent or less. Clay that is stiff cannot create a firm bond, so it should be soft and pliable.
Is There An Easy Way To Check The Suitability Of Clay?
Take a piece of clay and roll it on your table to see if it sticks. If it does, the clay is too soft and wet. If you see cracks on the coil surface as you roll it, then your clay is too dry.
When Building Coil Pottery, What Are The Best Practices?
Add no more than 5 or 6 coils per session to avoid deforming the pot. For the clay to harden, allow it to sit for about one day following each session. When binding coils, it is better to use both slip-and-score and blending techniques. This offers a higher degree of strength.
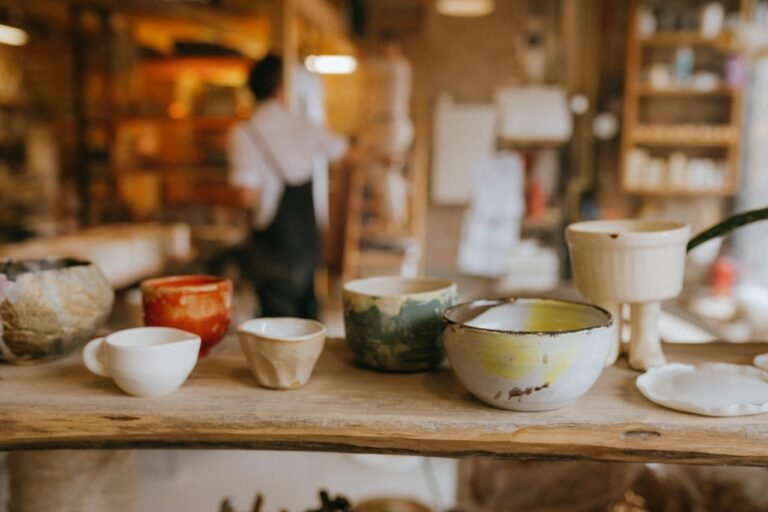
The Most Creative Coil Pot Ideas
Coil pot design ideas span several categories, such as patterned coil pots, themed coil pots, coil bowls, and smooth coil pottery. Coil pottery allows you to express your creativity. For beginners, this is a convenient way to learn the basics.