How to Glaze Pottery at Home? Explained for Beginners
Glazing your ceramic pottery in your own unique style is always a lot of fun, but you
might be wondering how to glaze pottery at home. Is that even possible? What exactly you have todo? You’ll be happy to learn that glazing pottery at home is entirely possible. This article
discusses the various methods for glazing pottery at home.
There are three alternative methods for glazing pottery at home. To begin with,
you can use a ceramic kiln. The other alternative is to use a small domestic pottery kiln
designed for hobby potters. The third option is to choose a different method of firing that
does not need the use of a traditional pottery kiln.
In general, glazing ceramics entails preparing glazes, putting the glaze on bisque-ware, allowing it to dry, and then loading it into the kiln for the glaze firing.
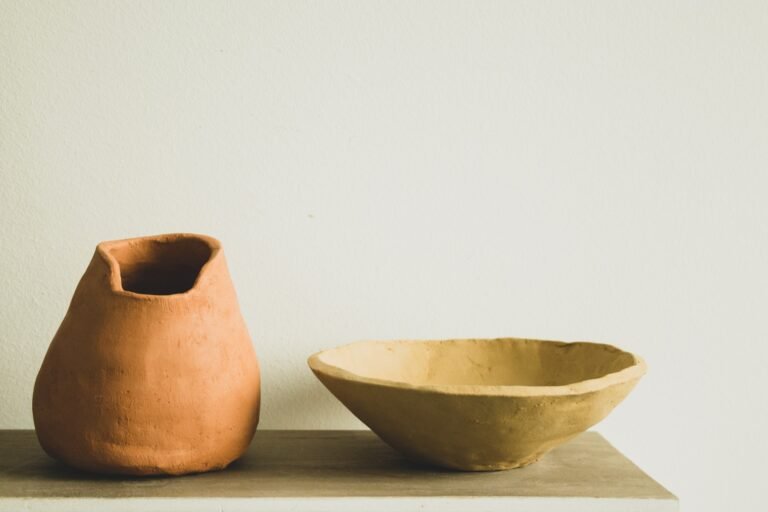
Glazing your pottery is an excellent method to strengthen it and make it more usable. In
reality, you’ll need this if you don’t want to wind up with pottery that you can’t use and is only
appropriate for decoration.
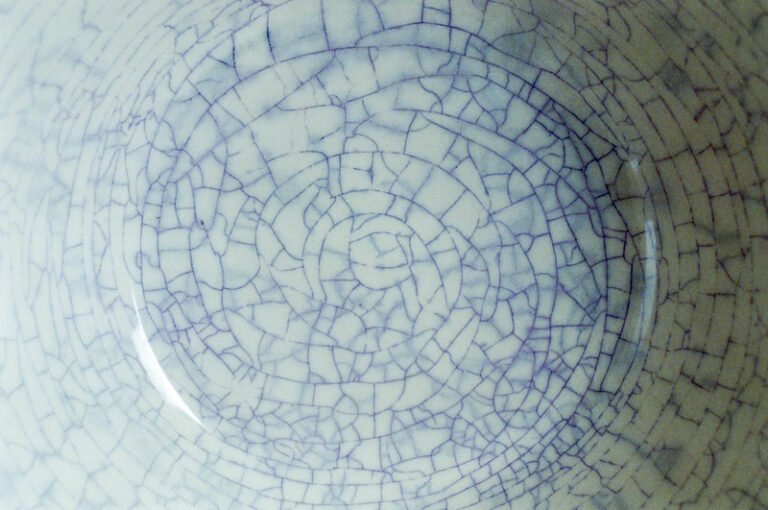
However, if you know how to glaze properly, whether with or without a kiln, you’ll be able to access a variety of options that will make you happy. Glazing’s possibilities are unlimited, as are the techniques and patterns you may create with it.
All of that possibility comes with a lot of decision-making. Because glazes has chemicals and
compounds, they respond differently to different materials and clays. The advantage is that each
piece you make will be absolutely unique. Glazing transforms plain pottery into a work of beauty.
How to Glaze Pottery at Home?
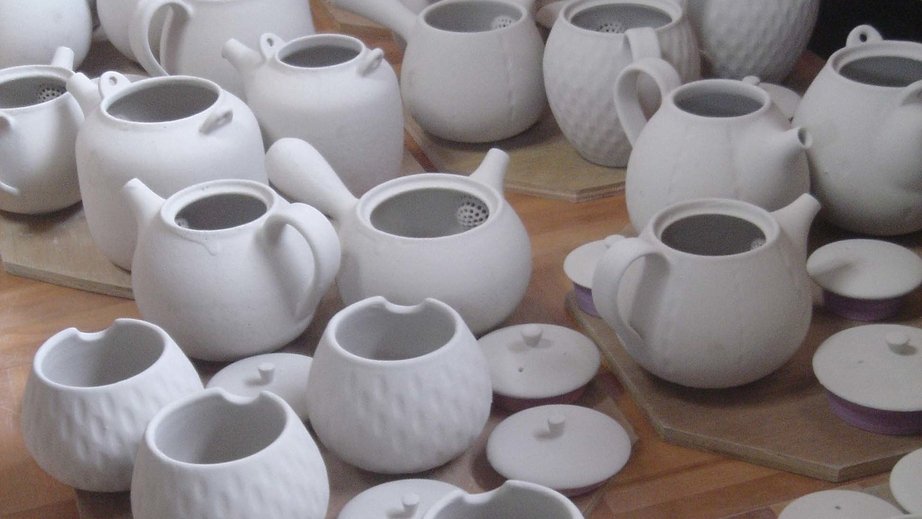
To begin, you’ll need an unglazed, hard ceramic piece. And buy pre-mixed glazes or
glazes that have been professionally mixed. If you’ve never created your own glazes before,
pre-mixed glazes are less likely to produce difficulties during firing. Also, think about glazes and
their firing temperatures.
To adhere to the piece properly, firing of different glazes at different temperatures is a must. Next, if there are any bumps on the object that aren’t supposed to be there, sand them away with 100 grit sandpaper until the surface is smooth. To remove dust formed while sanding, clean the object with a damp sponge afterward. Then apply wax to the object’s base and any places where two removable sections connect. Wax coating prevents glaze from clinging to the ceramic’s base, which would “glue” your object to the kiln’s base.
Each glaze should be fully mixed before being pouring it into a little dish with its own brush.
Apply the under-glaze with your brushes and use a knife or a metal item to scrape away any
unwanted glaze. Fill hollow containers with tiny apertures with glaze. It can be difficult to see
inside a ceramic pot, cup, or other object with an interior surface and reach in with the brush.
Instead, pour a small quantity of glaze inside the object and move it around with your gloved
hands to properly distribute it.
Allow each glaze layer to dry completely before applying the next.
Apply an overglaze to complete the underglaze process. Overglaze coats the object’s surface
with a glossy, protective finish. Choose a clear overglaze that will not obscure the color of the
underglaze(s), or if you’re not using underglazes, any color overglaze. Wipe away any glaze that
might stick to the kiln. Fire the glaze according to the manufacturer’s directions.
Glazes are either low or high temperature, and firing them at the incorrect temperature might result in the ceramic breaking or the glaze failing to set. That is why understanding the proper temperature for your glaze is essential. Allow at least 24-48 hours for firing before your thing is ready. Your object should be ready once it has totally cooled.
Related: How Can I Remove The Glaze From Pottery?
How do I Make My Own Glaze?
Simply combine a glaze powder with water to make your own ceramic glaze. It’s a
relatively easy process. Measuring water, putting the glaze powder into the water, screening,
modifying viscosity or density, and letting the glaze sit before applying it to your bisque-ware are
all part of the whole process.
Make sure you have all the necessary safety equipment before beginning to make your glaze. Glazes can produce dust, which can hurt your lungs if inhaled.
Assemble the glaze powder in a well-ventilated room while wearing a respirator or mask. If you
have sensitive skin, wear gloves when working with glazes. To avoid getting glaze in your eyes,
you can also use safety goggles.
Keep in mind that if the glaze isn’t thick enough, you can simply add more water. Start with less water than recommended and gradually increase until you get the desired consistency. Allow the glaze to sit for at least 24 hours before using it on your bisque-ware.
Related: How Do I Glaze My Pottery in the Oven?
What are The 3 Basic Ingredients in Glaze?
Silica (glass formers), Alumina (refractory), and Flux are the three basic ingredients of
ceramic glazes. They are responsible for the color, glaze opacity, and other desired finishes.
Glass, raw clay, and ceramic glazes all contain silica as a major element.
Silica is in quartz, sandstone, sand, and flint. Alumina, or aluminum oxide, is a stiffening agent in nearly all glazes.
Without alumina, any vertical piece’s glaze would just slip off the surface after applying, which
isn’t ideal. The glaze can attach to the pottery’s surface without coming off by using alumina as
a clay (kaolin, ball clay, or fireclay) or as alumina hydrate.
The most common fluxes in ceramic glazes are calcium oxides derived from limestone. Examples include potash feldspar and soda feldspar. Fluxes are helpful in decreasing the melting point of silica. Fluxes, like silica, help to induce vitrification.
Always keep in mind that too much flux might cause a glaze to flow and generate uneven texture on the surface. A glass made with too much silica will be stiff, white, and densely opaque, with an uneven surface. Striking a balance between these three factors is important.