How Can I Achieve a Thick Drip Glazed Look? 4 easy steps!
If you managed to find the title of this text, we must congratulate you – you have progressed from a beginner who works with clay, to a real professional who manages to master all the techniques of beautifying the ceramics that you have made.
What we can guarantee you, in this post, you will find tips on how to achieve a thick drip glazed look. This way, your ceramics will be more resistant, beautiful, and long-lasting to use.
How to Glaze Ceramics at Home ?
If you are at the beginning of this journey and have not previously glazed ceramics at home, you will be satisfied if we write to you that it is possible! Not just in one, but in at least three ways:
- You can decorate your ceramics with alternatives similar to glazing ceramics.
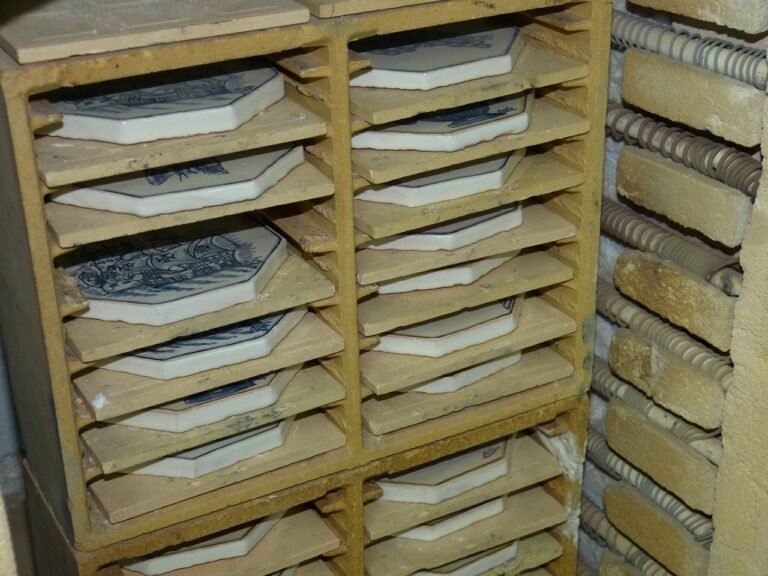
- You can use a small oven (kiln) for home conditions, which is intended for everyone who likes to make ceramics as a hobby.
- You can use an alternative way of baking clay, which includes standard ovens for baking clay and ceramics.
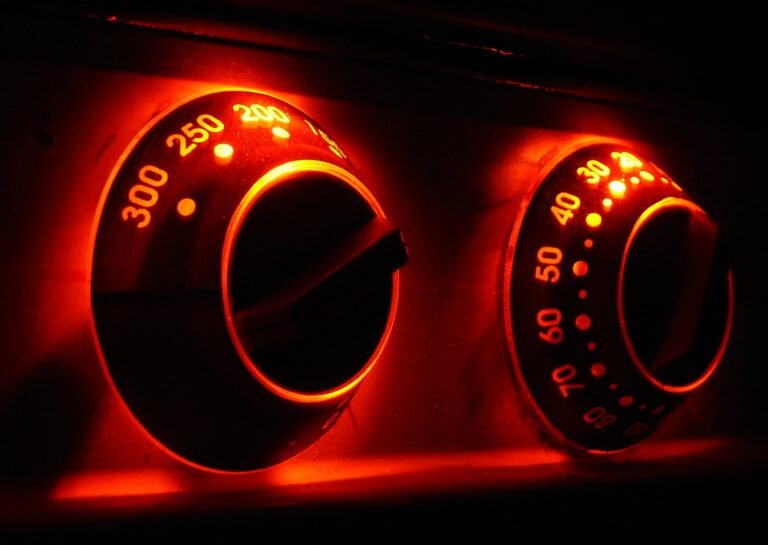
If you are able to use an oven for baking clay, you know that it is baked at high temperatures of 1832F (1000 C) so that the coating melts and gets a glassy appearance. When the oven heats up, the glazing layer melts, while it cools, it shrinks. That’s how you get the glazing effect.
In case you do not have access to ovens that bake at high temperatures, you can always decorate your ceramics with alternative methods. You can use cold glazes, which do not rely on baking:
- Acrylic paint
- Car repair paint
- Metal powder and paste for polishing shoes, for the effect of metallic finishes
- Wooden crayons, watercolors, or tempera
- Wax
There are, however, some limitations with glazing alternatives for ceramics: they should not be used for serving food or drinks, nor for vases that hold flowers. Therefore, let your imagination run wild when you use alternative ways of glazing ceramics for makeup boxes, coasters, or trays…
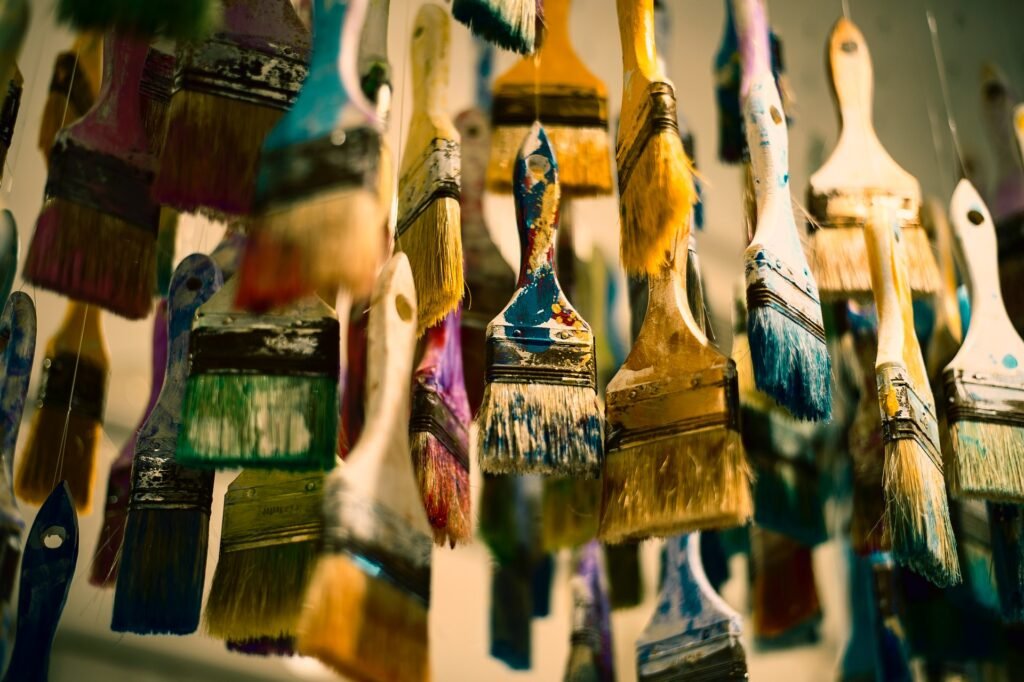
How to Glaze Pottery with a Brush?
What does brush glazing mean? It is a technique of glazing clay and ceramics that allows you more layers of slack coating, leaving room for creativity and versatility in expression.
It can be a slightly more demanding technique to master if you are a beginner, as it requires you to be precise and detailed.
This technique leaves a lot of inequality in the application of layers, which is why most people who make ceramic dishes prefer to glaze ceramics by the technique of dipping them into the glazed layer.
Drip Glaze Pottery Vase
The easiest and fastest way to glaze ceramic pots, especially vases that do not have flat equal surfaces, is the technique of glazing by dipping in the glazing liquid.
This means dipping the dish you want to glaze briefly (3 to 5 seconds) and squeezing the dish upside down so that the excess glazing liquid is removed and the rest remains evenly distributed on the vase.
For those of you unfamiliar with the term, a drop-glazed ceramic is one that has the appearance of having been “dripped” with glaze.
This often engenders surfaces of messiness and idiosyncrasy which people appreciate. Nancy Oakes, one of the early pioneers in modern American cooking describes this style of glazing in the book “Pottery Studio“.
The process starts with a layer of glaze, followed by dripping water onto the glaze. One can use a dropper, spout, or simply run the spoon under the faucet.
Advanced Pottery Glazing Techniques
Similar to the brush glazing technique, which we wrote about earlier in this text, if you have mastered the initial level of glazing, you can try some advanced pottery glazing techniques. They give you space to let your imagination run wild and create unique pieces of clay pots, which are not found anywhere else in the world. That is why you can boast of exceptional skill and be proud of yourself!
Vintage Drip Glaze Pottery
Adequate care of clay and ceramic dishes prolongs their lifespan and your enjoyment of delicious dishes that you can prepare in these dishes.
In principle, these dishes are better for serving than for baking and preparing meals, but they can certainly be used in the oven and microwave. However, you have to be extremely careful with them, as they are sensitive and fragile.
Pottery Glazing Ideas
This post is an opportunity to show you how to do these techniques at home, as well as provide some tips and tricks for achieving better-looking pottery. Let us know which techniques you have tried, and with which you had the best results? Try this, for example…
Step 1:
Apply your base coat to your pottery piece. This should be a thick layer – for me, about 20% thicker than usual. Today we’re going to teach you how to drop-glaze a three-inch thick piece of pottery.
Step 2:
Brush an additional layer of glaze over the surface, to the same thickness that you used for your base coat.
Step 3:
At this point, let your pottery sit for at least 10 minutes, overnight if possible. This allows the glaze to settle and reach a nice consistency. The drips will become more intense as time progresses.
Step 4:
While you wait for this time to pass, run the tip of a paintbrush under running water and begin dripping it on top of your already thick layer of glaze. This will help thin out your glaze as well as intensify its consistency and appearance.
Instead of a Conclusion, an Opportunity to Learn Something New
If you have reached the end of the text, this means either that you have confirmed your previous knowledge and experience, or you have learned something new, and now you are willing to try on your own pottery.
Take this blog post as an opportunity to practice your skills, and test your imagination, since you have nothing to lose.
And the results will come. And they would be beyond your imagination.