Is Air-Dry Clay Waterproof? What to Know Before You Seal It
Air-dry clay is convenient and beginner-friendly, but it does not behave like kiln-fired ceramic when water is involved. That matters if you want a finished piece to last, handle moisture, or do more than sit on a shelf.
Short answer: air-dry clay is not truly waterproof. Sealing can make it more water-resistant, but it is still the wrong material for many wet, food-safe, or outdoor uses.
This guide is for readers trying to decide whether sealing air-dry clay is enough for their project, or whether they should choose a tougher material from the start.
You will get a quick decision guide first, then practical help on sealing, limits, and when another clay choice will serve you better.
Quick Decision Guide for Air-Dry Clay
- Best for: decorative indoor pieces, lightweight crafts, and simple projects that do not need heavy wear resistance.
- Works better if: you seal it well and keep expectations at the “water-resistant” level, not truly waterproof.
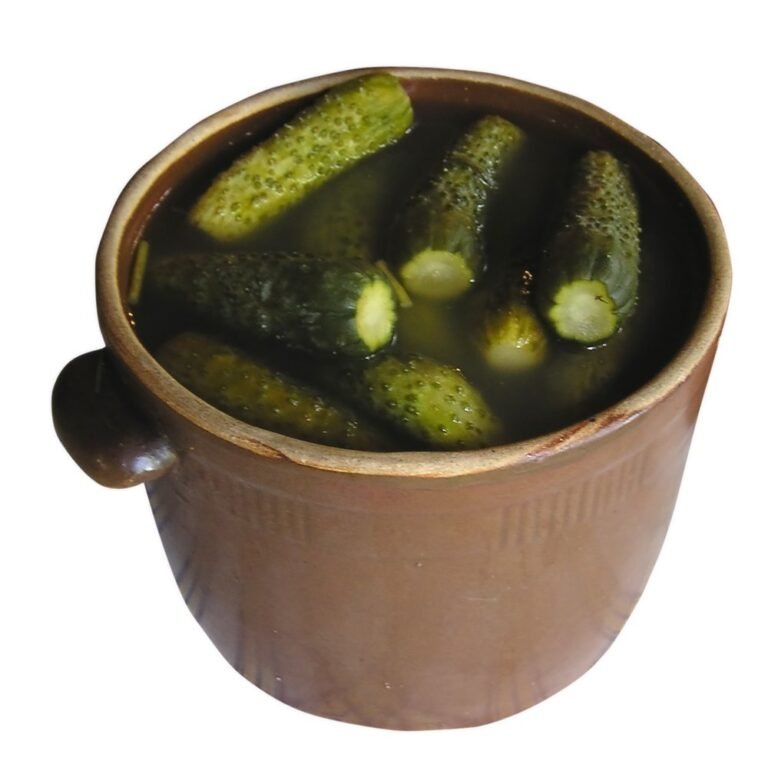
- Be careful with: food use, soaking, outdoor exposure, and projects that need long-term structural strength.
- Choose another material if: you need a tougher finish, more detail retention, or a piece that must handle moisture better over time.
If that last category sounds more like your goal, compare alternatives in best clay for sculpting or in how to harden modeling clay.
How Do You Make Air-Dry Clay More Water-Resistant?
The honest answer is that you do not make air-dry clay truly waterproof in the same way kiln-fired ceramic can be. What you can do is make it more water-resistant by sealing the surface well and using the finished piece in situations where occasional moisture is acceptable.
That is an important difference for beginners. A sealed air-dry project can work for decor, display pieces, and some light indoor use, but it is still a poor choice for long-term soaking, food use, or outdoor conditions that stay wet.
A practical sealing process looks like this:
- Let the piece dry completely before sealing it.
- Sand rough spots lightly so the sealer can go on more evenly.
- Apply several thin coats of a compatible acrylic sealer, varnish, or similar finish instead of one heavy coat.
- Seal the whole surface, including edges, details, and areas people often forget like the underside.
- Let the finish cure fully before exposing the piece to moisture.
If you need a project to handle more wear, water, or lasting detail, it may be better to choose another material from the start, such as the options covered in best clay for sculpting or in our guide on how to harden modeling clay.
Is Polymer Clay Waterproof?
When it comes to polymer clay, it is waterproof both when it’s baked or unbaked, but prolonged exposure is still not recommended. Unlike air-dry clays, it’s oil-based, which means that it is waterproof. However, this also means that it cannot be air-dried, and needs to be baked, which might not be ideal for people who do not have access to those types of equipment.
I must also mention that while it’s waterproof, being exposed to water for too long can make it a bit more brittle. This doesn’t mean that a little rain or occasional use will ruin it, but do try to keep it as dry as possible. Even with polymer clay, it is a good idea to varnish it for extra protection.
What Is the Best Varnish for Air-Dry Clay?
Now that I’ve discussed some of the basics, it’s time to talk about the topic that might be challenging for many: choosing the right medium. There are plenty of alternatives out there, which means that finding the one that you need might be a bit challenging. When choosing the best varnish, there are a couple of things that you need to keep in mind.
Before I go on, please bear in mind that the best one for you might not necessarily be the best option for a different person. I have already mentioned that different mediums vary in quality and characteristics, meaning that the thing that you’re looking for might be completely useless to another person. So, it’s a matter of taste, and the best that I can do is give a list of options with their characteristics while letting you choose which one sounds like what you were looking for.
I should also mention that all of the options are NOT safe for being used on pottery that is to be used for storing food/drinks. The pottery should only be used for decorative purposes. So, while a lot of varnishes are non-toxic, they still weren’t meant to be consumed, and thus cannot come in contact with food.
Now, moving on to different options of varnishes. Most of the varnishes can be applied just like paint, over the already dry clay. Please make sure that the clay has dried down, and just to be safe, wait about 72 hours and only after that apply the varnish.
To start off, let’s take a look at the simplest option: clear nail polish. This is something that is already present in a lot of houses and could be used on small pieces of pottery, such as jewelry, small decorations, and so on. While this is not something that I would recommend for professional use, it could work for smaller projects.
Another great alternative is clear polyurethane varnish. So many brands offer different options, which means that you can definitely find one that works the best for you. There are some that also have some tints to them, meaning that if giving some tints to your pottery pieces is your goal, this would definitely be an interesting option for you.
If you want to try something that is not applied with a brush, definitely try a spray varnish or lacquer! As the name suggests, you spray it on top of the clay, and it would be a good idea to do 2-3 thin layers and let it dry in between applying new layers. I would also suggest applying this varnish in a well-ventilated area, as even though all varnishes are not ideal for inhaling, this one is even worse due to it being a spray, but as long as you’re being responsible and careful, everything should be fine.