The Best Way to Prepare Clay for Pottery?
So you’re about to throw your first pot on the potter’s wheel. You’ve heard about how difficult pottery is, especially when it comes to handling clay. You’re wondering how to prepare clay for pottery while avoiding mistakes; here are some pointers.
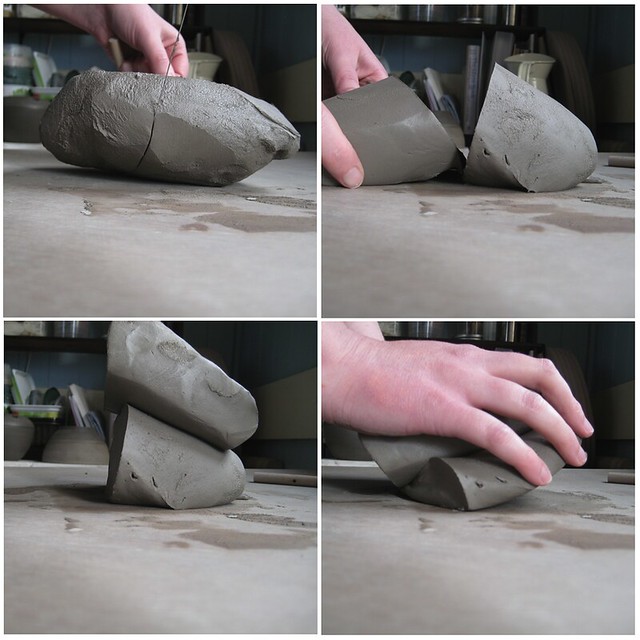
Make sure your clay isn’t too dry first. Second, check to see whether your clay is too soft. You should be able to split a ball of clay in half. If you can press your thumb into it without it adhering to you like mud, it’s good.
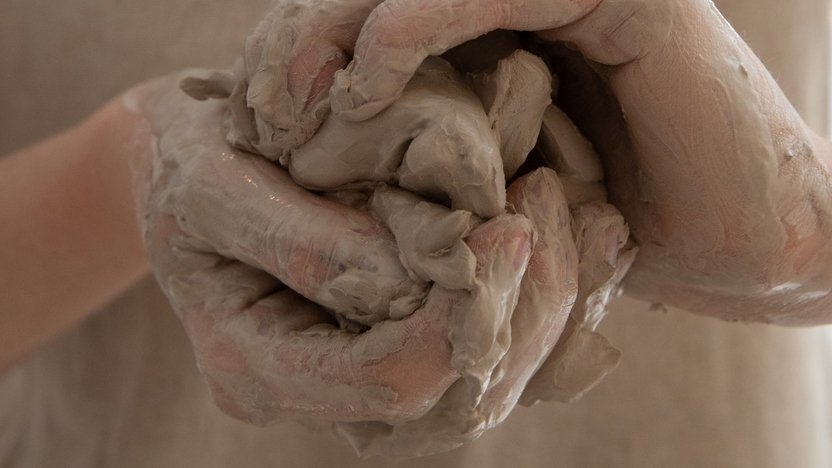
Wedging is the key. Rotate and press a clay ball on a table. The goal is to homogenize the clay and remove any air bubbles. This is important because air bubbles in the clay can trigger kiln explosions as the air pockets expand and explode.
You’ll see holes in the clay when you slice it with a wire, like in Swiss cheese, indicating the presence of air. Continue reading to find out more about ways to prepare your clay.
If your bag of clay becomes too dry, you can soften it by wrapping it in a wet towel and
resealing it for a few days, or by soaking the entire block of clay overnight in a pail of water.
Store-bought clay is usually the right consistency but it doesn’t hurt to wedge it a little if it has
been sitting for a while.
6 Simple Steps to Prepare Clay for Pottery
Step 1:
Remove all dried clay from the work area and make sure the work surface is dry.
Step 2:
Using a wire cutter, cut the desired amount of clay from the block of clay for your project.
Using your hands, roll the clay into a ball.
Step 3:
Begin kneading or wedging the clay. By pushing down and away from you, roll the clay, then roll it back to you while placing your weight
on it. Removing air bubbles in clay will happen in this method.
Step 4:
Using wire cutters, split the clay ball in half and inspect for pockets of air or fragments of dried clay. If there are any air bubbles, squeeze the clay back together into a ball and wedge again.
Step 5:
If there are no air bubbles, hardly press the clay together and roll it into a ball on the work area. While shaping the ball, apply mild pressure to the clay.
Step 6:
Clay is now ready for wheel throwing or hand construction. If you don’t use all your wedged clay, cover it with damp cloths to keep it moist.
How Do You Prepare Clay For Sculpting?
Envision the completed piece. After that, gather all your sculpting materials, including clay. If you’re using water-based clay, verify the wetness beforehand to assure moldability. Pull off a tiny piece of polymer clay and roll it to test its flexibility.
Knead and warm up the clay to prepare it for use. Conditioned clay is less likely to break and produces a more durable final product. The Sculpey Tool Clay Conditioning Machine makes consistent, flat sheets of polymer clay, which is ideal for players with limited hand dexterity or who want to condition larger amounts of clay.
What Are The Clay Preparation Techniques?
The plastic method, the wet method, the dry method, and the semi-dry method are the four primary methods of preparation. The use of the plastic method happens in the brick business, as well as in pottery and stove manufacturing. It takes advantage of the moisture that is already present in the clay. If the clay is too dry, add water.
The procedure is straightforward and inexpensive, and there is no need for special equipment. Use of hand throwing, coiling, pressing, extrusion, and other methods to produce items straight from the mixed clay.
The method’s main disadvantage is that mixing different types of clay or other materials takes time and results in intolerable mixed clay.
The procedure is less suitable for clay kinds that do not slake immediately, such as hard and dry lumps, which take a long time to absorb water, dissolve, and become flexible.
1. The wet method.
Clay will dissolve in water to generate a slurry in this procedure. It is possible to make a very uniform mixture, but only one forming procedure is suitable: costly casting.
2. Dry method.
Clay will be dry, pounded, and crushed into powder.
The semi-dry method is usually a hybrid of the dry and the plastic methods. It entails drying and crushing the clay until it reduces to powder.
Mix sand, ash, and other additives with the clay powder.
Add water and stir into the powder until it results in a plastic mixture with a consistency suited for hand throwing, coiling, pressing, extrusion, and other processes after it has been well mixed and sieved to drop big particles.
This process has the advantage of producing a homogeneous mixture and using the resulting clay
with a variety of production procedures after mixing with water. The disadvantage of a dusty
environment, however, remains.
What Are The 4 Hand-Building Techniques of Clay?
Hand building is an old pottery-making technique that involves producing forms with
hands, fingers, and rudimentary tools rather than a pottery wheel. Slab building, in which clay
slabs are being rolled or pounded out by hand, with a slab roller or rolling pin, and then used to
form things or vessels, is the most popular hand-building technique.
The pinch method is another option. While holding the clay sphere, squeeze your thumb into the middle of the ball halfway down. Press the walls out with the thumb on the inside and the fingers on the outside while rotating the ball in one hand. Using a damp sponge, smooth the surface.
Coiling is the third technique, in which clay coils are rolled out and built up in a spiral, with each coil joining the coil below it layer by layer until the attainment of the required wall height and profile.
Throwing is the final technique. When most people think of pottery making, they generally think
of wheel throwing. A potter will center a ball of spinning clay, open it into a vessel, and lift and
shape the walls while the wheel is spinning, resulting in a symmetrical vessel.
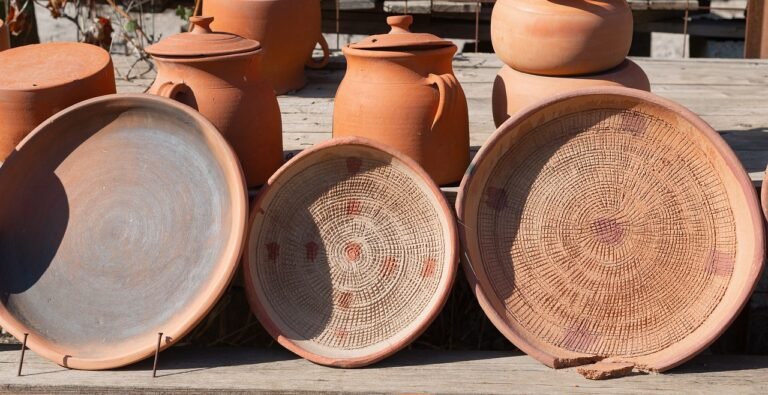
Textured vessels, painted vessels, reformed vessels into new forms, embellished with handles for cups or teapot spouts, or anything your imagination can conjure up.

